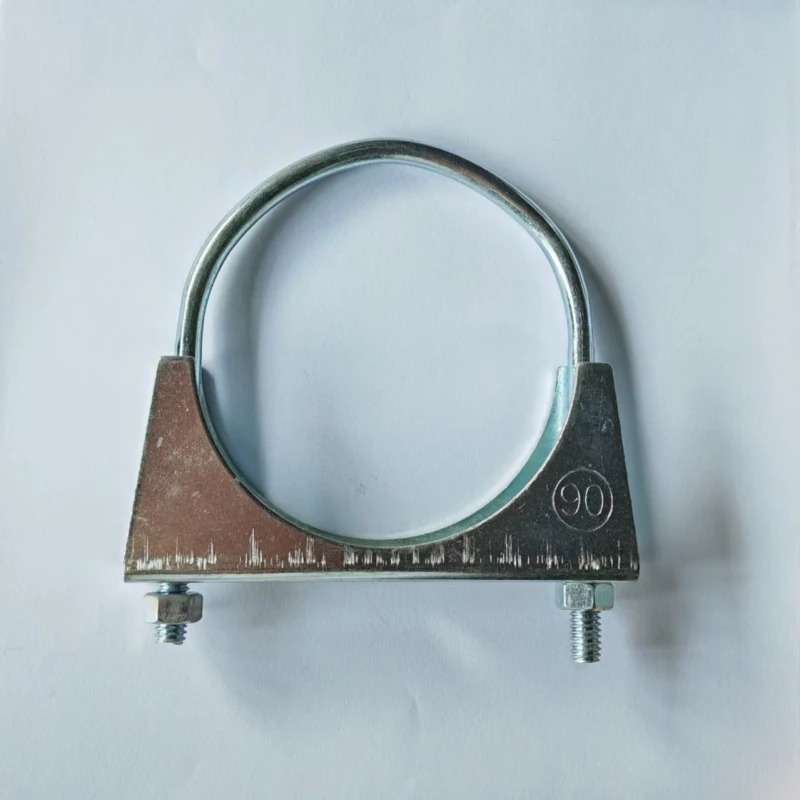
U-clamp is a common fixing tool, widely used in fixing and supporting pipes, equipment and structures. The steps to install U-clamp are as follows:
1. **Prepare tools and materials**: Before starting the installation, make sure you have the necessary tools on hand, such as wrenches, screwdrivers, measuring tools, etc. At the same time, prepare the U-clamp and corresponding accessories such as bolts and gaskets.
2. **Measurement and positioning**: Determine the installation position of the U-clamp, measure according to the size of the pipe or equipment, and ensure that the clamp of the appropriate specification is selected. Mark the location of the installation hole to ensure the horizontal and vertical position is accurate.
3. **Drilling**: According to the marked location, use an electric drill to drill holes on the substrate to be fixed. The depth and diameter of the hole should be selected according to the specifications of the clamp and the requirements of the accessories.
4. **Install the bracket**: If necessary, install the bracket or base first to provide support for the U-clamp. Use screws to fix the bracket to ensure it is stable.
5. **Install the U-clamp**: Place the U-clamp on the pipe or equipment, align the previously drilled holes, insert the bolts, and use gaskets to ensure its firmness.
6. **Tighten the bolts**: Use a wrench to tighten the bolts moderately to ensure that the U-clamp is firmly fixed in the intended position. Be careful not to over-tighten to avoid damaging the clamp or pipe.
**Inspection and debugging**: After installation, carefully check all connections to ensure that there is no looseness or leakage. If necessary, fine-tune to achieve the best fixing effect.